Pexlora
How to Compress Images Without Losing Quality
Learn how to compress images without losing quality: when to use lossless or lossy compression, the quality settings that look identical, the right format for each image, and the mistakes that cause blur.

5 min read
On this page
A 4 MB photo can usually become a 400 KB photo that looks exactly the same on screen. Learning to compress images without losing quality comes down to three decisions: the right pixel size for where the image will appear, the right format, and a quality setting that removes data your eyes cannot see.
Heavy images slow down websites, fill up email limits, and get rejected by upload forms. Over-compressed images look cheap, with blocky skies and smeared text. Most people swing between the two because they treat compression as one slider instead of a short sequence of choices.
By the end of this guide you will know when "lossless" is actually possible, which quality settings are safe for photos, graphics and screenshots, and how to cut file sizes by 70 to 90 percent with no visible change.
Lossless vs lossy compression
There are two kinds of image compression, and knowing which one you are using explains almost every quality problem.
Lossless
Rewrites the file more efficiently without changing a single pixel. Removing metadata and optimising PNG encoding are lossless. Savings are modest, often 5 to 30 percent, but the image is identical.
Lossy
Discards detail that human vision is poor at noticing, such as subtle colour shifts in busy areas. Savings are large, often 60 to 90 percent. Push it too far and artefacts appear.
"Without losing quality" in practice usually means without visible loss. A well-tuned lossy JPG or WebP at the right size is indistinguishable from the original at normal viewing distance, and it is a fraction of the weight. True lossless matters for medical scans, archival masters and files you will edit again.
Step 1: Resize to the size you actually need
Pixel dimensions drive file size more than any other factor. A phone photo at 4000 × 3000 pixels has 12 million pixels. A blog image displayed 1200 pixels wide needs about 1.08 million at a 1200 × 900 shape. Shipping the full-size file means sending roughly eleven times more data than the screen can show.
Choose a target width based on where the image goes:
- Blog or article body: 1200 to 1600 pixels wide covers most layouts, including high-density screens.
- Full-width hero banner: 1920 to 2400 pixels wide.
- Product thumbnail or card: 400 to 800 pixels.
- Email newsletter: 600 to 1200 pixels, as most email layouts are 600 pixels wide.
- Social media post: 1080 pixels wide is the common standard.
Resize with the Pexlora Image Resizer before you touch any quality setting. Downscaling also hides minor noise and softness, so the smaller image often looks crisper than the original viewed at the same size.
Step 2: Pick the right format for the image
Format choice can halve file size on its own. Each format is built for a different kind of image.
| Format | Best for | Compression | Transparency |
|---|---|---|---|
| JPG | Photos, universal compatibility | Lossy | No |
| PNG | Logos, screenshots, sharp text | Lossless | Yes |
| WebP | Photos and graphics on the web | Lossy or lossless | Yes |
| AVIF | Smallest photos for modern browsers | Lossy or lossless | Yes |
Google reports that WebP lossy images are 25 to 34 percent smaller than comparable JPGs, and lossless WebP is about 26 percent smaller than PNG. AVIF often goes further for photos, and it is now supported by all major browsers according to Can I use. The cost is compatibility: some older software, email clients and upload forms still expect JPG or PNG.
A common mistake runs the other way. Saving a photo as PNG to "keep quality" can make it five times larger than a high-quality JPG with no visible benefit. Use the image converter to switch formats when the current one does not fit the content.
Step 3: Choose a safe quality setting
Quality sliders run from 0 to 100, but the useful range is narrow. Below a certain point artefacts appear; above it, file size climbs steeply for no visible gain.
- Photos in JPG: 75 to 85 is the sweet spot. Going from 85 to 100 can double the file size with almost no visible difference.
- Photos in WebP or AVIF: start around 75 for WebP and 50 to 65 for AVIF, since AVIF's scale behaves differently.
- Screenshots and UI: use lossless PNG or WebP. Lossy compression blurs text edges.
- Logos and flat graphics: lossless, or SVG if you have the vector file.
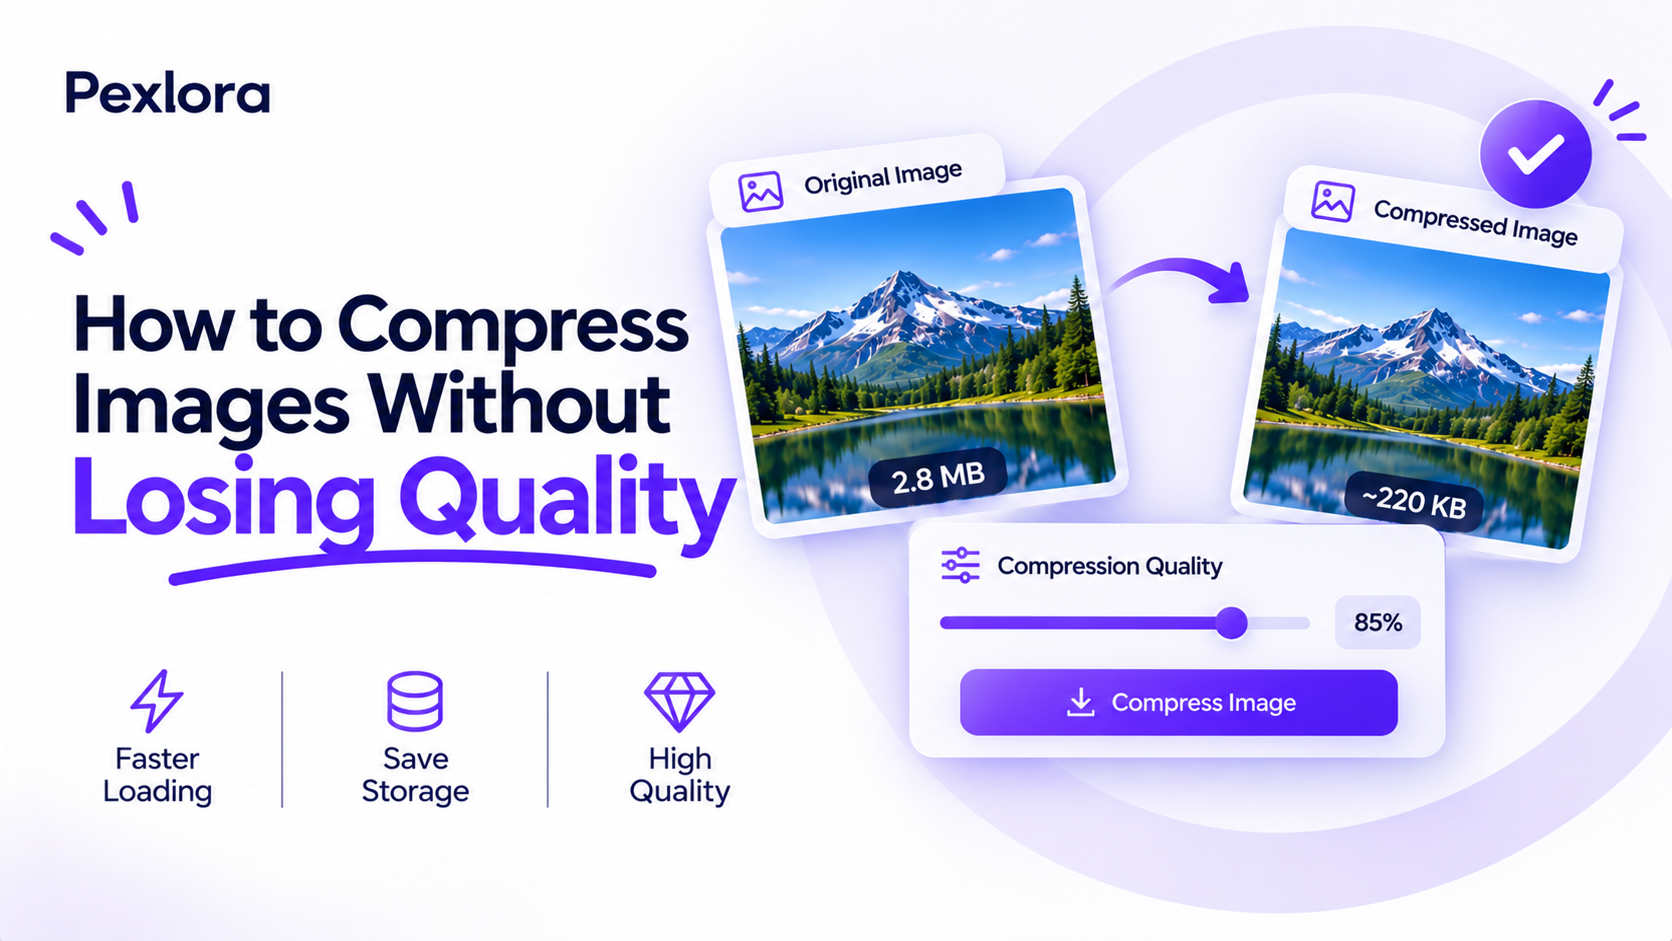
Here is a typical before and after for a 12-megapixel phone photo used in a blog post. The original JPG is about 4.2 MB at 4032 × 3024. Resized to 1600 pixels wide and saved as WebP at quality 78, it comes out around 180 to 250 KB. Side by side on a laptop screen, most people cannot tell which is which.
The Pexlora image compressor applies these defaults automatically and shows the before and after size, so you can adjust if needed.
Lossless savings most people miss
Before you reach for lossy settings, there are free savings that change nothing in the image.
- Strip metadata: EXIF, XMP and embedded thumbnails can add 20 to 100 KB, sometimes more for files from editing software. Removing it is lossless. We explain the details in does removing image metadata reduce image quality.
- Drop unused colour profiles: a large embedded print profile is wasted on a web image. Converting to sRGB keeps colours consistent online.
- Optimise PNG encoding: lossless optimisers re-pack PNG data more efficiently without touching pixels.
- Reduce colours in graphics: a flat logo rarely needs millions of colours. A 256-colour palette is often invisible and much smaller.
Stripping metadata also removes GPS location and device details, which is a privacy win on top of the size saving.
Frequently asked questions
Can you compress an image without any quality loss at all?
Yes, with lossless methods such as removing metadata and optimising PNG or WebP encoding. The savings are smaller than lossy compression, but every pixel stays exactly the same.
What is the best quality setting for JPG?
For most photos, 75 to 85 gives a large size reduction with no visible change at normal viewing size. Use 90 or higher only for images that will be printed or edited further.
Is WebP better than JPG?
For websites, usually yes. WebP produces smaller files at similar visual quality and supports transparency. JPG remains the safer choice for email attachments, print shops and older upload forms.
Why does my compressed image look blurry?
The quality setting is probably too low, or a full-size image was squeezed to a tiny file. Resize to the needed dimensions first, then use a moderate quality setting.
Your next step
Take the heaviest image on your website or in your current project and run it through the three steps: resize to its display width, convert to WebP if your platform supports it, and compress at quality 75 to 80 with the image compressor. Compare the two files side by side. Once you see the result, apply the same settings to the rest of your images. For deeper background on format trade-offs, the web.dev guide to choosing image formats is worth reading.