Pexlora
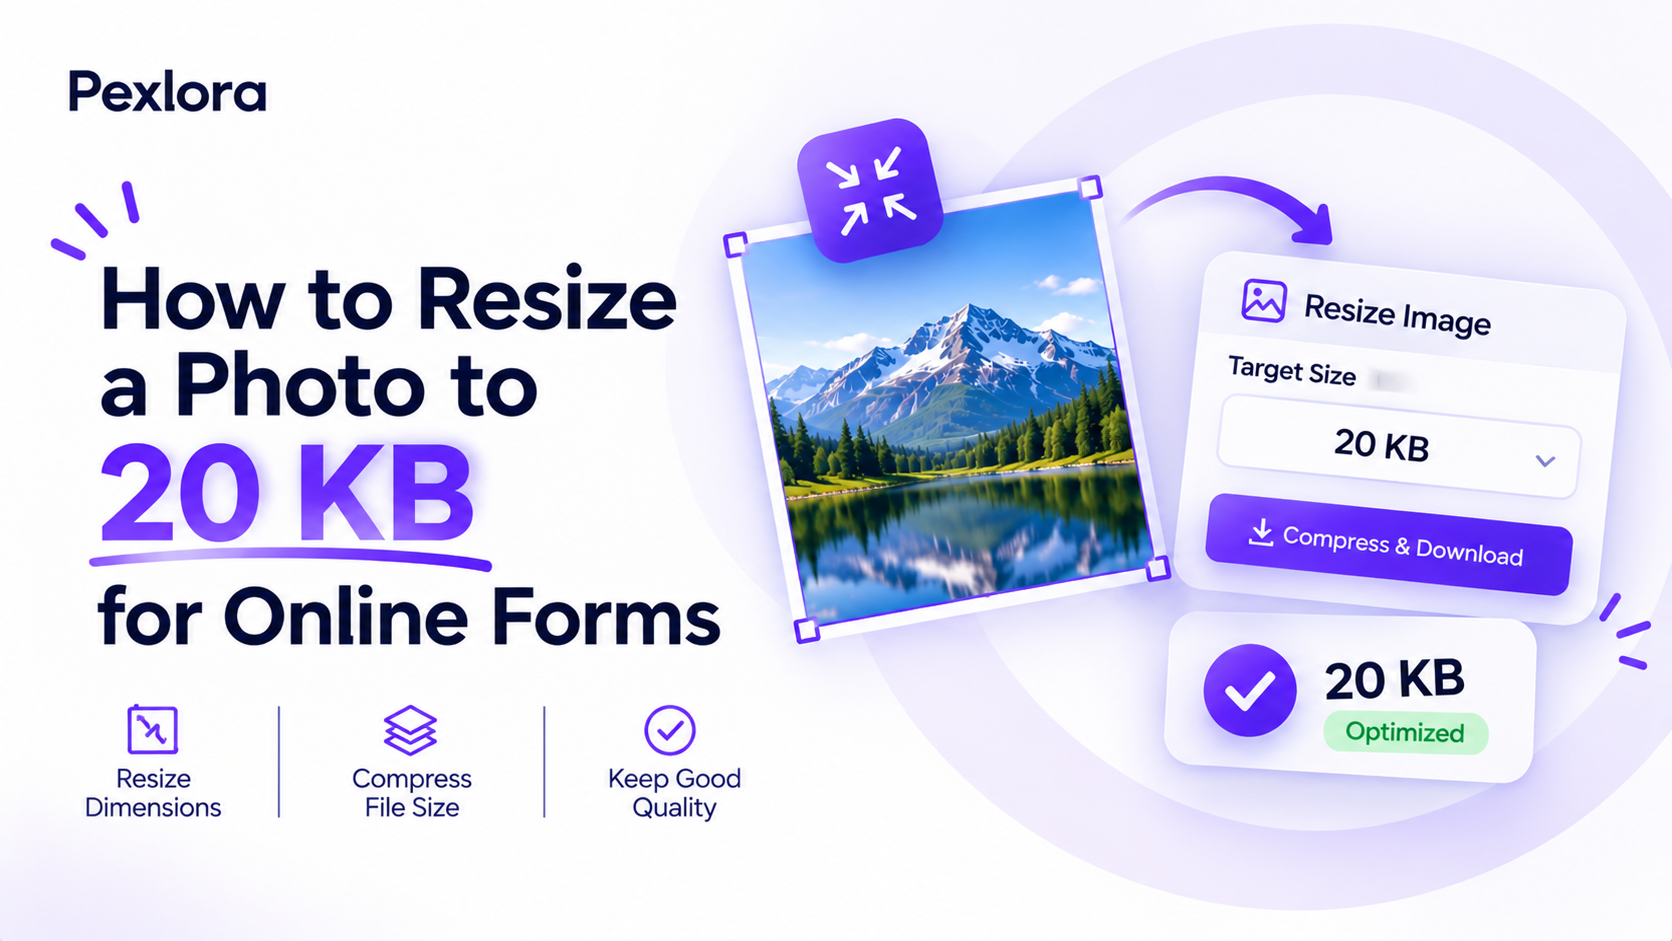
How to Resize a Photo to 20 KB for Online Forms
Online application rejecting your photo? Learn how to resize a photo to 20 KB without blur, meet pixel and dimension rules, and fix the common upload errors on exam and government forms.

6 min read
On this page
Online application forms are strict about photos. An exam portal, job application or government service may reject anything over 20 KB, anything under 10 KB, and anything that is not the exact pixel size it expects. If you need to resize a photo to 20 KB, the trick is to change the dimensions first and the compression second, so the face stays sharp and the file still passes the upload check.
Getting this wrong costs time at the worst moment. Portals often slow down near deadlines, and an error message like "file size exceeds limit" or "invalid dimensions" usually means starting the upload again from scratch.
This guide explains why 20 KB is such a common limit, how to hit it in under a minute on a phone or computer, and how to fix the errors that trip up most applicants.
Why online forms ask for a 20 KB photo
Application portals handle huge volumes of uploads in short windows. Small, uniform files keep storage costs down, load quickly for reviewers and print cleanly on admit cards and ID documents. A passport-style face at roughly 200 by 230 pixels has enough detail for those uses, so anything larger is wasted space to the portal.
A modern phone photo is a very different file. A 12-megapixel image is around 4000 by 3000 pixels and often weighs 2 to 5 MB. Getting that down to 20 KB means shrinking it by over 99 percent, which is only possible if you reduce the pixel dimensions, not just the quality.
Most forms list three separate rules, and you must meet all of them:
- File size: a range such as 10 KB to 20 KB, or 20 KB to 50 KB for photos and 10 KB to 20 KB for signatures.
- Dimensions: pixels such as 200 × 230, or physical size such as 3.5 cm × 4.5 cm.
- Format: almost always JPG or JPEG. PNG and HEIC are often rejected.
Always read the official notification for your form. Requirements vary between exams and change from year to year.
Dimensions first, then file size
The most common mistake is pushing compression to the maximum on a full-size photo. The file shrinks, but the face turns into blocky smears because the encoder throws away detail to hit the target. Resizing first keeps quality high because a smaller image needs far fewer bytes to look sharp.
Here is a worked example. A form asks for a 3.5 cm × 4.5 cm photo. At 200 DPI, that converts to about 276 × 354 pixels, since 3.5 cm is 1.38 inches and 1.38 × 200 = 276. Crop your photo to that shape, resize it to those pixels, and a JPG at medium quality typically lands close to the 20 KB range with a clear face.
Compress only
4000 × 3000 photo forced to 20 KB. Heavy blocking around eyes and hair, background banding, and the reviewer may reject it as unclear.
Resize, then compress
Cropped and resized to 276 × 354 pixels, then saved near 20 KB. Sharp features, clean edges and an accepted upload.
How to resize a photo to 20 KB online
A browser tool handles the resize and compression in one pass, which is the fastest route on a phone.
- Open Compress Image to 20 KB on Pexlora.
- Upload your photo. JPG, PNG, WebP and HEIC are accepted, so iPhone photos work without converting first.
- The tool searches for the best quality setting that stays under 20 KB, and reduces dimensions if needed.
- Download the result and check the file size in your phone's file details before uploading.
If your form also specifies exact pixels or a centimetre size, use the Photo & Signature Resizer instead. It lets you enter width, height and a KB limit together, which is what most exam and bank forms require.
Need a slightly larger target, such as for a form that asks for 20 KB to 50 KB? The 50 KB compressor works the same way and keeps more detail.
Resizing your signature to 20 KB
Signatures cause more rejections than photos because people photograph them in poor light on lined paper. The image ends up grey, shadowed and too large.
For a clean result:
- Use plain white paper and a black or dark blue pen with a thick tip.
- Shoot in daylight from directly above, so there are no shadows from your phone.
- Crop tight around the signature, leaving a small margin. Extra white space adds bytes and shrinks the signature on screen.
- Resize to the stated dimensions, often something like 140 × 60 pixels, before compressing.
A cropped signature at those dimensions usually lands well under 20 KB with almost no compression, because large plain areas compress efficiently. That is why tight cropping matters more than any quality slider.
Common upload errors and how to fix them
Most rejections come from a handful of problems. Match the message you see to the fix below.
| Error message | Likely cause | Fix |
|---|---|---|
| File size exceeds limit | Image is over the KB maximum | Resize dimensions down, then compress again |
| File size too small | Image is under the KB minimum | Raise quality or use slightly larger dimensions |
| Invalid dimensions | Pixel width or height is wrong | Set exact pixels in the photo resizer |
| Invalid file format | PNG, HEIC or WebP uploaded | Convert to JPG before uploading |
| Photo not clear | Over-compressed or blurry source | Retake in good light, resize before compressing |
Watch for file names too. Some portals reject names with spaces or special characters, so rename the file to something like photo_ramesh.jpg before uploading. And check that your file extension really is .jpg: an iPhone photo renamed from .heic is still a HEIC file inside, and the portal will catch it. The HEIC to JPG converter fixes that properly.
Frequently asked questions
How do I reduce a photo to 20 KB on my phone?
Open a browser compressor such as Pexlora's 20 KB tool, upload the photo from your gallery, and download the result. It works on Android and iPhone without installing an app, and handles HEIC photos directly.
Will compressing to 20 KB make my photo blurry?
Only if you compress a full-size photo without resizing it. Crop and resize to the form's dimensions first, and a 20 KB JPG will look sharp at the size a reviewer sees it.
What is the difference between KB and pixels?
Pixels measure the image's width and height, while KB measures how much storage the file uses. A form can ask for both, and you need to meet each rule separately.
Why is my 20 KB photo still rejected?
Check the other rules. The dimensions, format or background colour may be wrong, or the file may be just over the limit if the portal counts 1,024 bytes per KB. Aim slightly under the maximum.
Your next step
Open your form's official notification and write down the three rules: KB range, dimensions and format. Then run your photo and signature through the Photo & Signature Resizer with those exact values. If the form asks for a printed-style photo, our Passport Photo Maker handles the white background and face position as well. For background on how file formats store image data, the MDN image format guide is a clear reference.